

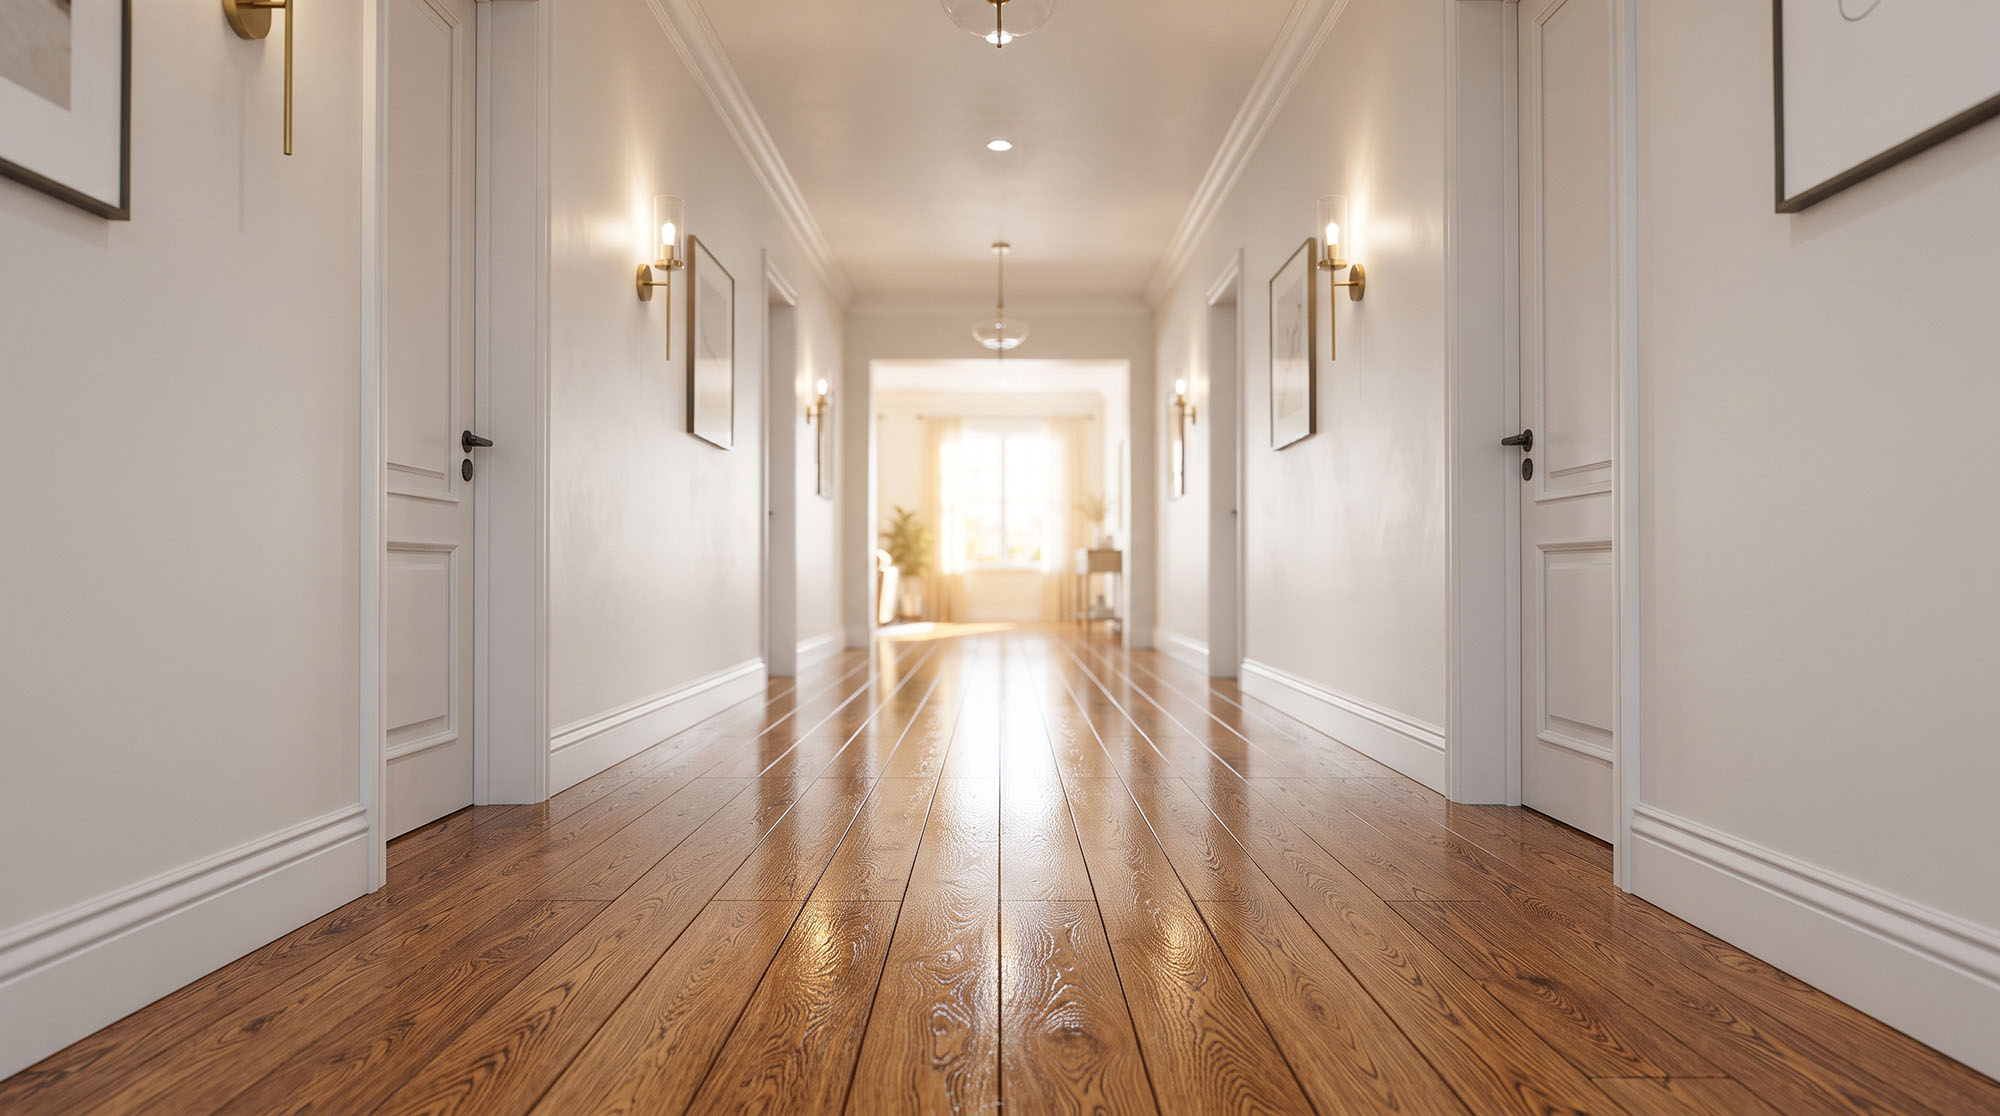
Solid oak and maple planks define the style of your main living spaces, but past stain choices or natural yellowing can make your space feel dated. If your hardwood flooring is structurally sound, you do not need to tear out the boards to get a fresh look.
A complete sanding and custom re-staining process strips away old polyurethane, lifts previous pigments, and opens the bare grain to take an entirely new shade.
Switching from a dark walnut to a natural clear coat—or shifting an orange-toned oak to a cool, muted brown—works through controlled surface grinding and precise stain application.
How the Sanding Process Removes Old Stain
Stain pigment penetrates deep into the natural grain of hardwood, while topcoats of polyurethane sit above the surface to lock out moisture. Applying a new color over an existing finish creates a muddy, uneven surface that peels away under normal foot traffic.
A complete color change begins by stripping every layer of old finish down to clean, bare timber:
Heavy drum sanding removes topcoats: Heavy-duty floor machines remove the old protective poly and grind away surface scratches, shallow dents, and previous stain layers.
Edge sanding cleans borders and trim: Specialized edge sanders clean the perimeter of your rooms, reaching right up to baseboards, doorways, and staircase risers.
Progressive grit sequences open the wood grain: The sanding process moves through specific abrasive grits, starting with heavy coarse paper to cut through old sealers and finishing with fine paper to make the wood surface smooth.
Older St. Louis homes across Kirkwood and Webster Groves often feature detailed trim, ornate baseboards, and plaster walls that gather dust. Professional dust-contained sanding units connect high-powered vacuum hoses directly to the equipment, pulling wood particles out of your living space as the machine moves.
Why Water Popping Helps Wood Take New Color
Once the machines expose bare wood, the grain tightens up under the pressure of the sanding abrasives. If you apply stain directly to a tightly closed surface, the wood cannot absorb enough pigment, leaving the final color washed out or patchy.
Popping the grain with water solves this absorption issue:
Cell structure expansion: A fine, controlled mist of water spreads evenly across the bare floor. The wood fibers drink in the moisture, causing the cell walls to swell and open.
Rich color uptake: Open wood grain pulls in dark, rich, or cool-toned pigments deeply and evenly.
Consistent coverage across species: Red oak and white oak boards show strong grain variations. Popping the grain helps the stain take evenly across both dense grain lines and softer springwood sections.
After the water dries completely, the floor stands ready for color.
Testing Stain Colors Directly on Your Floor
Wood species, natural board tones, and room lighting change how a stain looks inside your home. A color sample on a tiny wood block at a retail desk rarely matches how that shade performs across an entire room of 80-year-old oak planks.
An on-site stain wall consultation removes the guesswork from your color choices:
Direct testing on your floor: Small test patches of your top stain choices go directly onto your sanded, bare wood in a high-light area of your main living space.
Lighting evaluation: You see how the stain responds to natural daylight entering through your windows alongside your indoor home lighting at night.
Custom stain blending: If a standard shade looks too dark or carries too much red, stain tones blend together in custom ratios to match your vision.
Once you pick the final shade, the test spots sand right out, and the main stain application begins across the entire floor.
Clear Topcoats That Protect Your New Color
Applying the stain creates your desired color, but protective topcoats shield the newly stained timber from daily wear, liquid spills, and UV exposure.
After the stain cures, clear sealer coats lock the pigment into the grain. Applying high-performance, low-VOC polyurethane topcoats protects your indoor air quality while creating a durable shield. Satin, matte, or semi-gloss finish coats seal the floor, ensuring your new finish lasts for decades.
Hardwood Floor Refinishing in St. Louis
Flipping the color of your hardwood updates your interior style while preserving the high-value solid wood already built into your home. A professional sanding process clears away decades of wear, allowing you to move from yellowed or dark tones to a clean, custom shade.
At Luminous Flooring, we help you reimagine your living space with expert hardwood refinishing, dust-contained sanding, and custom stain matching across the Greater St. Louis area. Our team includes one of the largest groups of National Wood Flooring Association (NWFA) Certified professionals in the region, and our company holds Bona Certified status. Our family-owned business brings years of local expertise to your project. Whether your home needs targeted structural wood repairs, dust-contained sanding, custom stain matching, or complete hardwood replacement planks, we handle every detail with honest transparency.
Contact us today or visit our showroom in Herculaneum, MO, to speak with an expert and schedule your in-home floor assessment.


